How to Remove Scratches from a Car: A Complete DIY Guide for Different Paint Damage Levels
Introduction
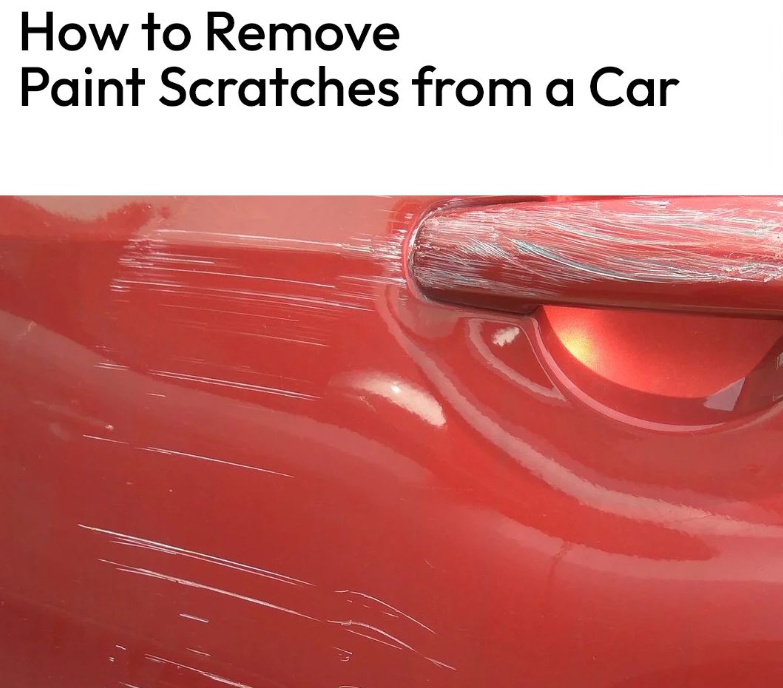
Discovering a scratch on a vehicle is frustrating for any car owner, especially when it appears unexpectedly on an otherwise clean and well-maintained surface. While body shop repairs are always an option, many paint scratches can be handled at home with the right approach and a bit of patience.
Car paint damage varies widely, from almost invisible surface marks to deep gouges that expose the metal underneath. Understanding the severity of the scratch is the first and most important step in deciding how to repair it effectively and safely.
With the correct tools and techniques, many minor scratches can be significantly reduced or completely removed without professional intervention, helping preserve both the appearance and value of the vehicle.
Understanding Scratch Depth
Not all scratches are the same, and their depth determines the repair method required. Some scratches only affect the clear coat, while others cut into the paint layer or even reach the metal body of the car.
A simple way to evaluate a scratch is the fingernail test. When a fingernail is gently run across the surface, a very light scratch will not catch at all. These shallow marks are typically limited to the clear coat and are the easiest to repair at home.
If the fingernail slightly catches but no metal is visible, the scratch is considered moderate. This level often requires more intensive polishing and compound work, and may occasionally need partial repainting depending on the severity.
Deep scratches are the most serious type. These reach the primer or bare metal underneath the paint. They not only affect appearance but also create a risk of rust if left untreated, making timely repair essential.
Tools and Materials Overview
Different levels of scratches require different tools, but several core items are commonly used in DIY car scratch repair. These include microfiber towels for cleaning and finishing, rubbing compound for leveling paint surfaces, and polishing compound for restoring shine.
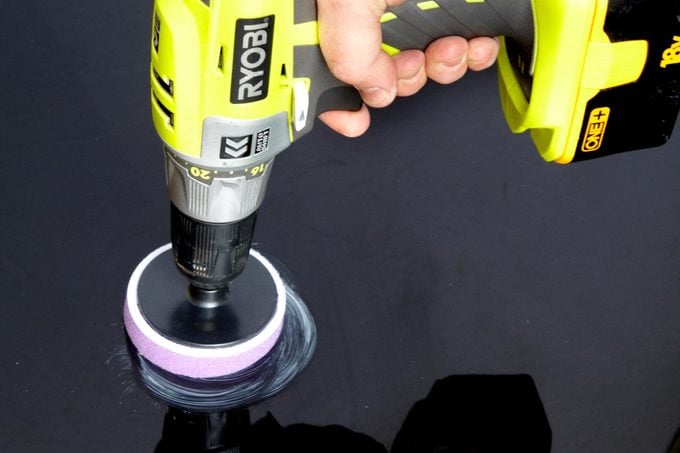
For light sanding work, very fine grit sandpaper such as 3000-grit is typically used. A cordless drill or polishing machine may also assist in buffing compounds into the paint surface, although care must be taken to avoid excessive speed or pressure.
In deeper repair cases, additional materials are needed. These include masking tape to protect surrounding paint, automotive primer to prepare bare metal, matching car paint for restoration, and car wax for final protection and shine.
Each tool plays a specific role in restoring the surface, and using them in the correct order is essential for achieving a smooth and even finish.
Removing Barely-There Scratches
Very light scratches that only affect the surface layer of clear coat can often be repaired with minimal effort. These marks are usually caused by dust, light contact with objects, or minor abrasions.
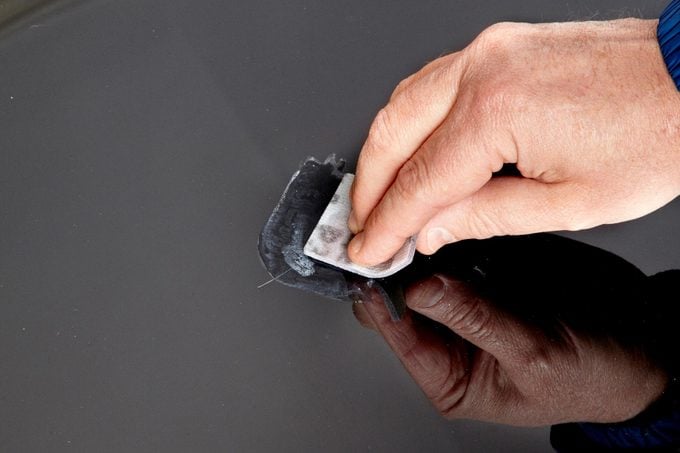
The process begins by cleaning the affected area thoroughly to remove any dirt or debris. Once clean, the surface can be lightly sanded using 3000-grit sandpaper. The sanding should be gentle and controlled, with the area kept slightly damp to reduce friction and prevent further damage.
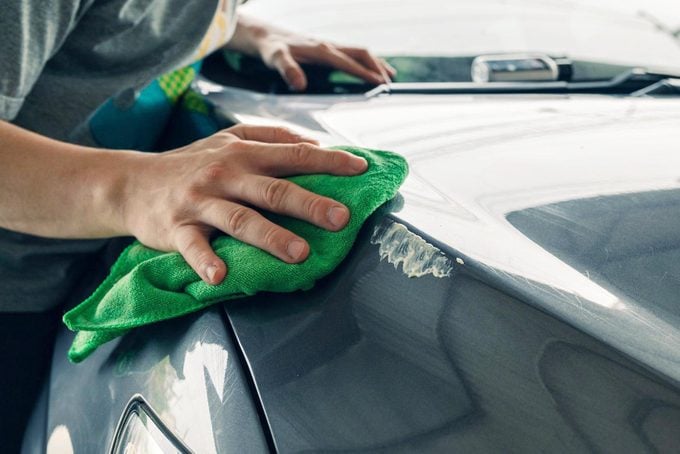
The goal of this step is not to remove paint but to reduce the visibility of the scratch by smoothing the surrounding clear coat. Once the scratch appears less noticeable, the area is wiped clean with a microfiber towel.
After sanding, a rubbing compound is applied. This compound helps further smooth the surface by leveling out fine imperfections. It is spread evenly across the scratched area and then worked into the paint using circular motion or a polishing tool.
Some people use a cordless drill for this stage, but speed and pressure must be controlled carefully. Excessive force can damage the paint layer or create uneven results. A consistent motion helps ensure a smoother finish.
Once the rubbing compound has been worked in, a polishing compound is applied to restore gloss and shine. This final step blends the treated area into the surrounding paint, making the scratch far less visible or completely removing it in many cases.
Treating Small Scratches
Small scratches are deeper than surface marks but do not expose the metal underneath. These typically require more effort and multiple applications of compound to reduce their visibility.
After washing the vehicle, a small amount of rubbing compound is applied to a scrubbing pad or microfiber cloth. The compound is then worked directly into the scratch using steady pressure and circular movements.
The area is wiped clean after each application to check progress. In many cases, repeated treatment is necessary, and the process may be repeated two or three times until the scratch becomes less noticeable.
Although this method can significantly improve appearance, it is important to understand that removing paint layers too aggressively can weaken the surface over time. Excessive polishing may lead to thinning of the clear coat if overdone.
For deeper small scratches, partial repainting may be required if polishing alone does not fully restore the surface. However, many cases can still be improved substantially with careful compound work.
Repairing Deep Scratches Down to Metal
Deep scratches that expose bare metal require a more advanced repair process. These damages must be treated carefully to prevent corrosion and restore both protection and appearance.
The first step involves sanding the damaged area after cleaning the surface. The sanding process continues until the exposed metal is visible and the surrounding paint edges are smooth. It is important to sand in the direction of the scratch to avoid expanding the damage.
In some cases, wet sanding is used to improve control and reduce heat buildup. This involves dipping fine sandpaper into water periodically while working the surface, allowing for smoother material removal.
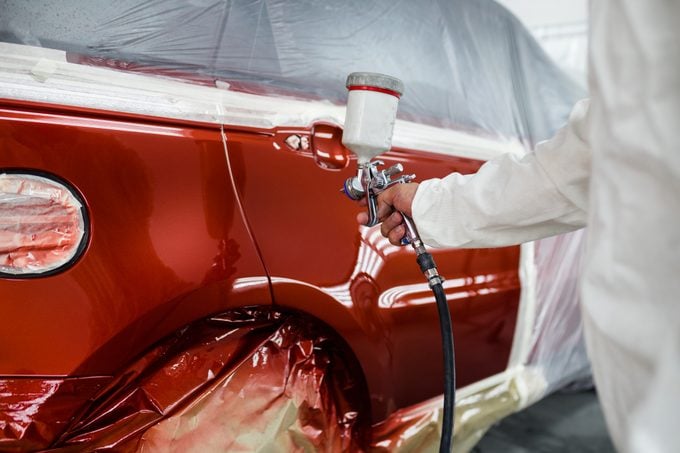
Once the area is properly prepared, masking tape and protective coverings are applied around the scratch to shield unaffected paint. Automotive primer is then sprayed onto the exposed metal and allowed to dry completely. The primer creates a stable base for paint adhesion and helps prevent rust formation.
After the primer has cured, matching automotive paint is applied over the repaired section. Care must be taken to match the original color as closely as possible to ensure a seamless finish. Multiple light coats are often better than a single heavy application.
Once the paint has dried fully, the surface is polished to blend the repaired area with the surrounding finish. A polishing compound applied with a microfiber cloth or pad helps restore shine and smooth transitions between old and new paint layers.
The final step involves waxing the area to protect the new paint and enhance durability. This helps seal the surface and maintain a consistent appearance across the vehicle body.
Professional Considerations and Safety
While many scratches can be repaired at home, deeper damage may require professional attention, especially if there is uncertainty about paint matching or sanding depth. Improper repair techniques can result in uneven surfaces or long-term paint deterioration.
Power tools such as drills and buffers should always be used with caution. High speed or excessive pressure can burn paint or create swirl marks that are difficult to remove. Controlled movement and light pressure are essential for safe results.
It is also important to recognize when damage is beyond DIY repair. Scratches that penetrate deeply into multiple paint layers or cover large areas often require professional refinishing for best results.
Final Thoughts
Car scratches are a common issue, but they do not always require expensive repairs. By identifying the depth of the damage and applying the correct repair method, many scratches can be significantly reduced or eliminated at home.
From light surface marks that respond to simple polishing, to deeper scratches requiring sanding, priming, and repainting, each level of damage has a structured repair approach that restores both appearance and protection.
With patience, careful technique, and the right materials, maintaining a clean and polished vehicle surface becomes an achievable task, helping preserve the car’s condition and long-term value.