

When my grandmother first taught me how to clean a clogged dryer vent, I admit I was skeptical. I had grown up believing that home maintenance required expensive tools, specialized services, or professional technicians.
But Grandma insisted that none of that was necessary — just a few basic tools, a little effort, and careful attention.
Her toolkit was simple: a vacuum cleaner, a long flexible brush, and an old leaf blower she had kept in the garage for many years.
She looked at me calmly and said, “This keeps your dryer running right, keeps your house safe, and costs next to nothing.” At the time, I thought she was exaggerating, but I later realized she was absolutely right.
What many people don’t realize is that a clogged dryer vent is more than just a minor inconvenience. It is a serious fire hazard.
According to the U.S. Fire Administration, clothes dryers are responsible for thousands of house fires each year, and failure to clean the vent is one of the most common causes. These fires can start quietly, often hidden behind walls or in ceilings, fueled by lint combined with heat and airflow restriction.
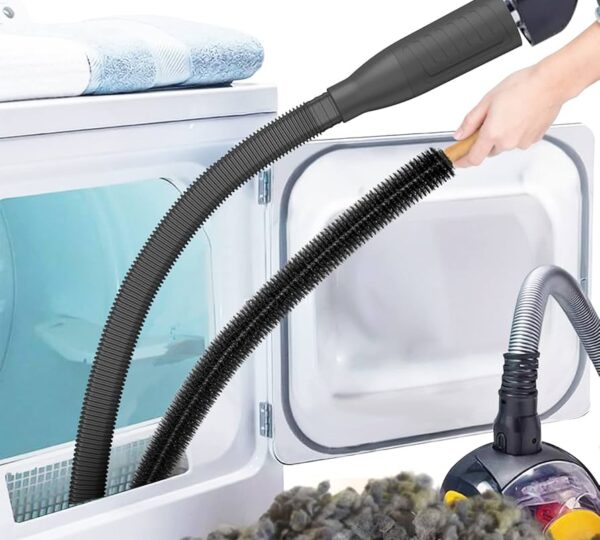
Beyond fire risks, lint buildup reduces dryer efficiency, increases energy consumption, and shortens the lifespan of the appliance. It can also cause a faint burning smell that may go unnoticed until the problem becomes severe.
Grandma had once experienced a small fire related to a clogged vent decades ago, and she never wanted anyone in her family to go through that again. That experience shaped her strict approach to dryer maintenance.
When she said that cleaning the vent was something that should never be ignored, I paid attention. Over time, I came to understand how simple her method really was, and how effective it could be.
The process she taught me is straightforward and focuses on safety, efficiency, and thorough cleaning.
The first step is safety. Before doing anything, the dryer must be unplugged from the power source. If it is gas-powered, the gas supply must be turned off. The dryer is then gently pulled away from the wall to access the vent connection. This step ensures there is enough working space without damaging the hose or connections.
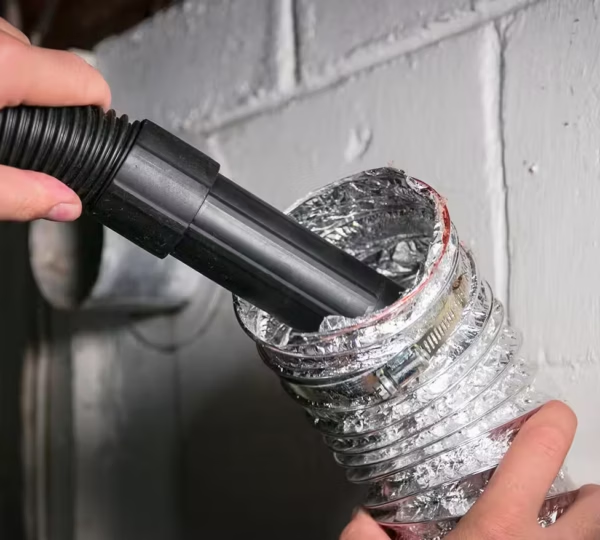
Next, a vacuum cleaner with a hose attachment is used to remove lint and dust from the area behind the dryer. Even if the lint trap is cleaned regularly, a significant amount of debris can still collect in the surrounding space. Removing it early helps prevent it from being pushed deeper into the vent system.
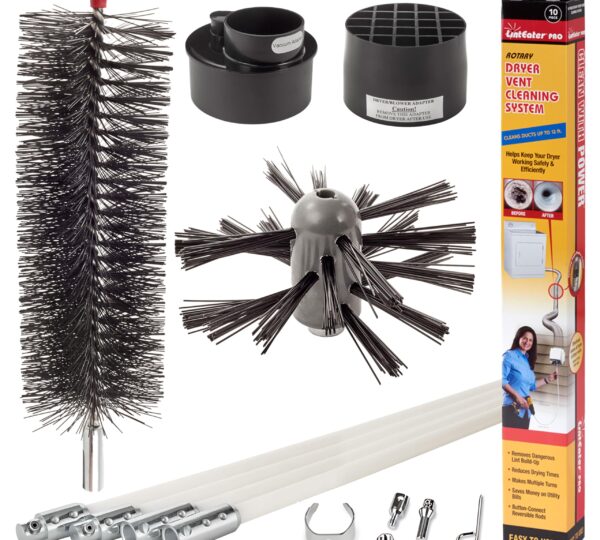
After that, a flexible vent brush is used. This tool is designed to reach deep into the duct and loosen lint buildup along the walls. It is inserted carefully and moved slowly to avoid damaging the vent. The purpose is to break up compacted lint that has accumulated over time and restore airflow through the duct.
Once brushing is complete, the area is vacuumed again. This step removes the loosened debris and ensures that the opening is as clear as possible. It also helps confirm that no large clumps are left near the entry point of the vent.
The next step takes place outside the home. The external vent cover is removed, and the duct opening is inspected. In some cases, debris, lint, or even small nests may be present. A leaf blower is then used to push air through the vent from the outside, forcing any remaining lint or dust out of the system. This helps clear the full length of the duct and restores proper airflow.
After cleaning, the vent cover is reattached, and the dryer is moved back into position. The appliance is then run for a short cycle to ensure everything is working correctly. If the air feels stronger, the dryer runs more efficiently, and clothes dry faster, the cleaning has been successful.
This method works because it addresses the entire airflow path rather than only the lint trap. Many people only clean the visible parts of the dryer system, leaving hidden lint buildup inside the vent. Over time, this buildup restricts airflow and creates potential hazards.

By combining vacuuming, brushing, and forced air from the outside, the entire duct system is cleared more effectively. This improves safety, reduces drying time, and lowers energy usage. It also helps extend the lifespan of the dryer by reducing strain on the appliance.
The method also offers financial benefits. A vent brush is inexpensive, and many households already own a vacuum cleaner and leaf blower. Compared to professional cleaning services, this approach is significantly more cost-effective while still being highly effective when done correctly.
For me, learning this routine was not just about home maintenance. It was also about understanding the value of preventive care. My grandmother approached household tasks with patience and consistency. She believed that small efforts, done regularly, could prevent larger problems in the future.
Over time, this routine became part of our household habits. Cleaning the dryer vent twice a year became a simple tradition that helped maintain safety and efficiency in the home. It required very little time but provided long-term peace of mind.
Today, I continue to follow the same method she taught me. It is a practical reminder that not all important home maintenance requires professional intervention or expensive equipment. Sometimes, the simplest methods are the most effective.
Cleaning a dryer vent may seem like a minor task, but it plays an important role in home safety and energy efficiency. A few careful steps, done consistently, can prevent serious risks and improve everyday performance.
My grandmother’s advice remains as relevant as ever. Regular attention, simple tools, and a careful approach are often all that is needed to keep a home running safely and efficiently.

